Adjacent technology

How hyper3d rodin turns ideas into 3D assets

hyper3d rodin describes the connection between Hyper3D's generative 3D workflow and Rodin, the model experience associated with creating usable objects from text or images. It is best understood as a production route, not a separate modeling category.

Text
Describe an object or scene
Image
Guide the visual direction
3D
Refine the generated result
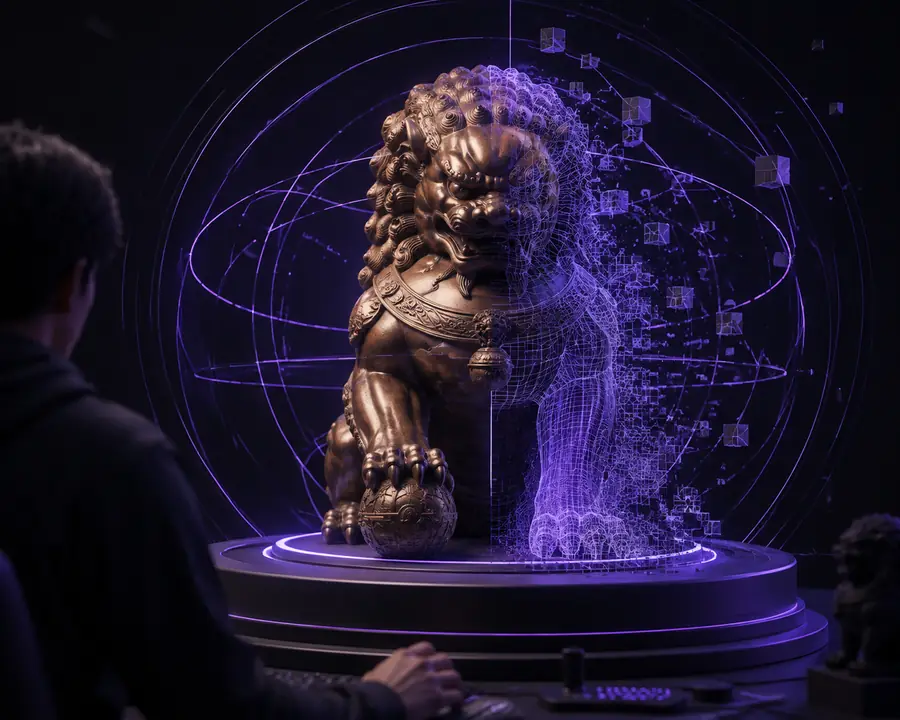
Abstract 3D object generated through a Hyper3D Rodin workflow

Three mechanisms behind the workflow

Rodin is easier to evaluate when its role is separated into the kinds of input and control a creator brings to the process. These mechanisms can overlap, but they solve different starting problems.

Recommended

Text-to-3D

Best for exploring a concept from a blank page.

Pros

  • Turns a written description into a visual starting point.
  • Encourages fast iteration on shape, style, and object category.
  • Useful when no suitable reference image exists.

Cons

  • Written descriptions leave room for interpretation.
  • Small structural details may need manual correction.
  • Exact proportions are harder to guarantee from text alone.

Recommended

Image-to-3D

Best when the silhouette and appearance already matter.

Pros

  • Uses a supplied image to anchor the generated form.
  • Can preserve recognizable visual cues better than text alone.
  • A practical route for product, prop, and concept references.

Cons

  • One image may hide the back or underside of an object.
  • Reflections, shadows, and backgrounds can confuse reconstruction.
  • The result still needs inspection from every important angle.

Reference-guided iteration

Best for narrowing the gap between a first pass and a usable asset.

Pros

  • Lets creators compare the output against a visual target.
  • Supports staged refinement instead of demanding a perfect first prompt.
  • Helps teams discuss changes using a shared reference.

Cons

  • More iterations require more review time.
  • A reference can constrain experimentation.
  • Final topology and material work may remain outside the generator.

Step-by-step from idea to asset

Hyper3D and Rodin should be treated as parts of an iterative pipeline. The table below separates the creator's input from the model's likely contribution, so expectations stay realistic at each stage.

Creator prepares Hyper3D and Rodin provide
1

1. Define the subject

Creator prepares

Name the object, intended style, and important features.

Hyper3D and Rodin provide

A semantic starting point for the generation pass.

2

2. Choose an input

Creator prepares

Write a prompt, select an image, or combine both directions.

Hyper3D and Rodin provide

A route for translating visual intent into 3D form.

3

3. Generate a draft

Creator prepares

Wait for the first result and identify obvious mismatches.

Hyper3D and Rodin provide

A rapid mesh concept that can be inspected from multiple views.

4

4. Check the silhouette

Creator prepares

Compare proportions, openings, major parts, and recognizable landmarks.

Hyper3D and Rodin provide

A complete object view that makes broad shape issues visible.

5

5. Review surface detail

Creator prepares

Decide whether materials, texture, and fine geometry are sufficient.

Hyper3D and Rodin provide

A generated appearance that may need cleanup for a specific use.

6

6. Prepare the asset

Creator prepares

Adjust scale, naming, topology, materials, and file organization.

Hyper3D and Rodin provide

A useful starting asset rather than a guarantee of final production readiness.

7

7. Move into the next tool

Creator prepares

Test the model in a renderer, scene, prototype, or game engine.

Hyper3D and Rodin provide

A bridge from rapid generation into a conventional 3D workflow.

Limits and edges

The strongest use of this workflow is fast exploration with informed review. It becomes less suitable when a project depends on exact measurements, certified geometry, or a tightly controlled production pipeline.

1

Choose Rodin when you need a fast visual starting point.

Use a clear prompt or strong reference, generate several candidates, and keep the most convincing base.

The main advantage is shortening the distance between an idea and something you can inspect in 3D.

2

Choose a conventional modeling workflow when accuracy is non-negotiable.

Build or edit the asset with direct control over dimensions, topology, edge flow, and hidden surfaces.

Generated geometry can be visually persuasive while still requiring substantial technical cleanup.

3

Use both when speed and control matter.

Generate an exploratory object first, then bring it into your preferred 3D software for retopology, materials, rigging, or animation.

This preserves the creative acceleration of Hyper3D while keeping final decisions with the artist or technical team.

Hyper3D Rodin at a glance

These are workflow indicators, not promises of automatic final assets. They summarize why creators explore the system and where human judgment remains important.

Text and image references can guide the starting concept.
2 input paths
Front, side, and rear inspection reveal issues a single view can hide.
3 review angles
Generate, compare, refine, and repeat until the form is useful.
1 iterative loop
No generator removes the need for checking scale, topology, materials, or export quality.
0 guaranteed shortcuts