Choose one clear subject
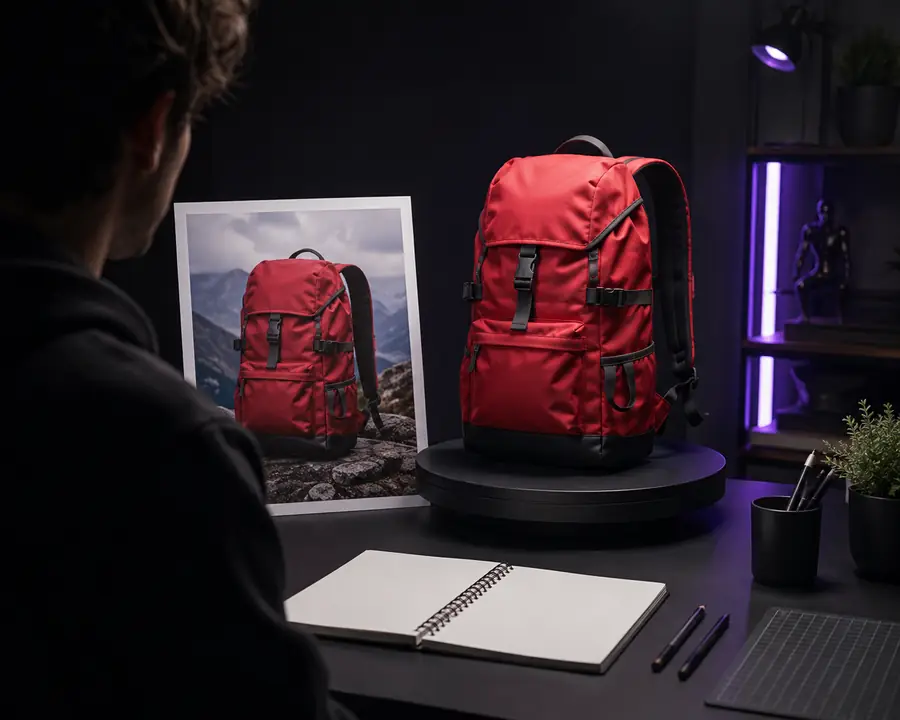
Use a single object with visible edges, a stable silhouette, and enough contrast from its background. Product photos, isolated props, and simple character references are easier to interpret than busy scenes.
Beginner tutorial
This guide shows how to use hyper3d without guessing at prompts, formats, or settings. Prepare a strong reference, generate deliberately, and review the result before you export it.
Prepare first
A few deliberate choices before generation make the rest of the Hyper3D workflow more predictable. Treat preparation as part of modeling, not as administrative work.
Use a single object with visible edges, a stable silhouette, and enough contrast from its background. Product photos, isolated props, and simple character references are easier to interpret than busy scenes.
Choose whether you need a recognizable shape, a clean render, a game-ready base, or a starting point for detailed sculpting. The right review standard depends on the final use.
Reserve time to inspect proportions, hidden surfaces, topology, and materials. Hyper3D can accelerate the first model, but a generated result should be treated as a draft until checked from multiple angles.
Before generation
Use this checklist as a compact setup sequence. Required items protect output quality; optional items help when you already know how the model will be used.
Avoid extreme cropping, heavy motion blur, and subjects hidden behind other objects.
A plain background gives the reconstruction process fewer competing shapes to interpret.
Text descriptions alone are less reliable when exact proportions matter.
Mention material, shape, and distinctive parts without adding a long story.
This helps you judge scale, polygon density, materials, and whether cleanup will be needed.
Extra visual guidance can help with hidden areas, but do not combine unrelated subjects.
Useful next reads
When a result looks wrong, diagnose the input and the goal before regenerating repeatedly. These related guides cover adjacent parts of the same Hyper3D workflow.
Workflow context
The modern Hyper3D workflow grew out of several familiar 3D production stages. Knowing that history helps you use generation as a focused accelerator rather than expecting a finished asset in one click.
Artists increasingly used photographs, turnarounds, and scans to guide modeling. A good reference became as important as the modeling tool itself.
Automated retopology, material helpers, and reusable geometry reduced repetitive tasks, while artists remained responsible for form, proportion, and final decisions.
Image-guided systems began producing usable rough geometry quickly. The strongest workflow became generate, inspect, correct, and iterate.
Better results came from clearer inputs and targeted revisions rather than longer prompts. Users learned to fix one visible problem at a time.
Hyper3D is most useful alongside familiar 3D tools: generate a base, verify the silhouette, clean the mesh, assign materials, and prepare the asset for its destination.
Visual checkpoint
A before-and-after check answers the most important beginner question: did the generated asset preserve the subject well enough to continue?
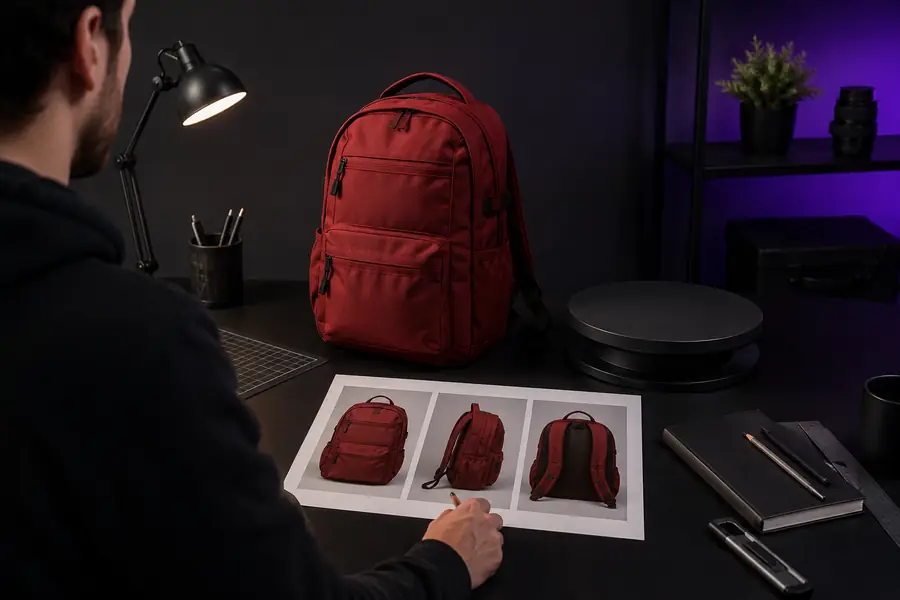
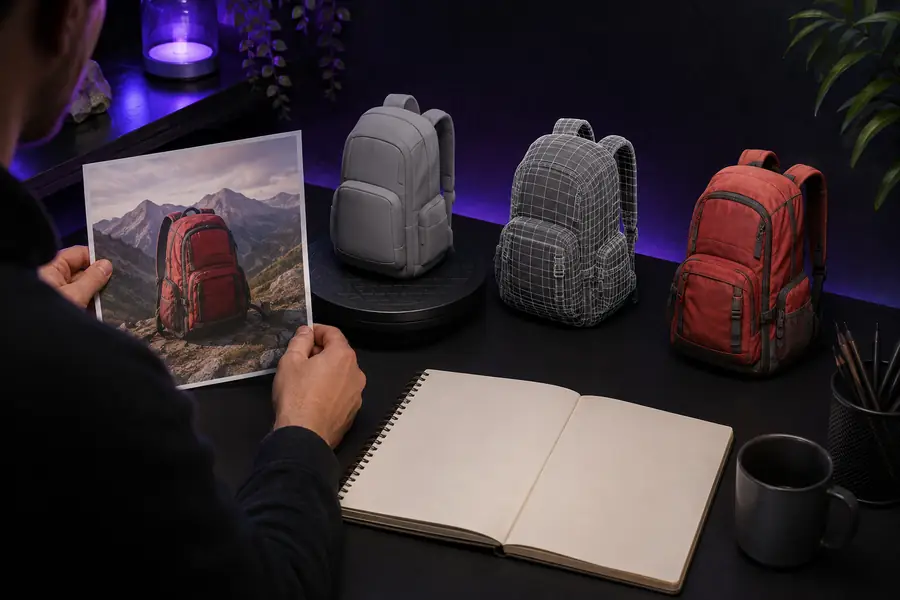
For beginners asking how to use hyper3d, the safest answer is to judge the first output as a draft. If the silhouette, major parts, and overall proportions are recognizable, continue with cleanup; if the subject is fundamentally misread, improve the reference before changing minor settings.
Set expectations
A fast generation route is valuable because it removes repetitive starting work, not because it removes every production decision. Keep these limits in mind when evaluating Hyper3D.
A single image provides little evidence for the back, underside, or concealed parts of an object. Those areas may be simplified, mirrored, or invented.
WorkaroundUse additional angles when available, then reshape hidden areas manually during the cleanup pass.
The mesh may contain uneven density, stretched faces, disconnected pieces, or geometry that is unsuitable for deformation and animation.
WorkaroundRetopologize or simplify the model in your preferred 3D editor before rigging, simulation, or real-time use.
A recognizable mesh is not automatically a finished asset. Surface response, UV layout, texture accuracy, and lighting still affect how the object reads.
WorkaroundCheck materials under neutral lighting and rebuild or refine them for the intended render or game engine.
A model suitable for a still image may be too dense for a game, too rough for manufacturing, or incorrectly scaled for a scene.
WorkaroundDefine the destination before export and validate scale, polygon budget, file format, and detail level against that destination.