Concept artists
You need a rough prop or environment element to test scale, framing, and mood before committing to a detailed design.
Create a visual blockout that gives the team something concrete to discuss in Blender.
hyper3d image to 3dBlender workflow
Hyper3D for Blender gives artists a faster route from a reference image to a workable 3D asset, so more time goes into composition, materials, animation, and polish.
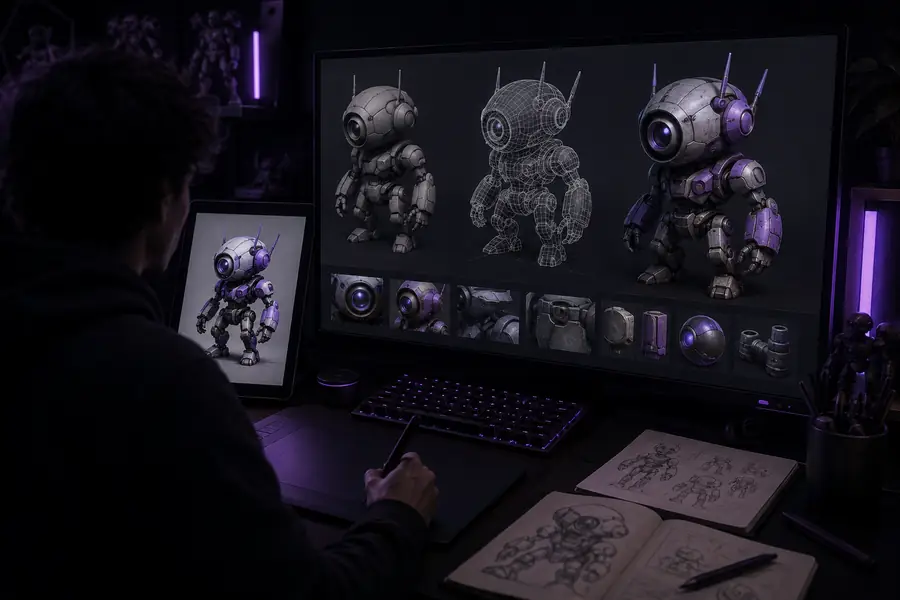
Manual blocking, repeated proportion changes, and placeholder hunting can interrupt a good idea. Hyper3D helps different Blender users get to a useful first version sooner.
You need a rough prop or environment element to test scale, framing, and mood before committing to a detailed design.
Create a visual blockout that gives the team something concrete to discuss in Blender.
hyper3d image to 3dA client brief includes several reference images, but modeling every early variation would consume the exploration window.
Generate candidate forms, select the strongest direction, and refine it with familiar Blender tools.
hyper3d examplesYou need secondary props for a playable scene while reserving production time for hero assets and gameplay systems.
Fill out an environment with editable starting assets and keep the art pass moving.
hyper3d for game developmentArtists repeatedly rebuild similar starting meshes for reviews, previs, and layout tests.
Standardize an early asset handoff and spend effort on cleanup, shaders, rigging, and pipeline fit.
how to use hyper3dThe best result is not simply a generated mesh. It is a repeatable handoff that matches the stage of work, the required level of detail, and the amount of cleanup your team can support.
Manual-first Blender workflow
Build the first form from primitives, sketches, or a sculpt
Hyper3D-assisted workflow
Use a text or image reference to create an initial 3D form
Manual-first Blender workflow
Rework proportions manually for each new direction
Hyper3D-assisted workflow
Generate several directions before choosing one to refine
Manual-first Blender workflow
Topology is controlled from the first modeling step
Hyper3D-assisted workflow
Topology may need inspection, retopology, or cleanup
Manual-first Blender workflow
Assign materials after the main form is established
Hyper3D-assisted workflow
Use the generated result as a visual guide, then rebuild or refine materials
Manual-first Blender workflow
Hero assets, exact technical models, and final topology
Hyper3D-assisted workflow
Concept exploration, secondary props, previs, and scene blockout
Manual-first Blender workflow
The asset is already native to the scene-building process
Hyper3D-assisted workflow
Import, inspect scale and normals, then organize collections and modifiers
Manual-first Blender workflow
Higher control with more time spent before review
Hyper3D-assisted workflow
Faster reviewable output with a deliberate cleanup stage
Keep the handoff simple: establish the visual target, check the generated asset, and make the final decisions inside Blender.
Use a well-lit image with the subject visible and enough information to identify its overall silhouette, major parts, and proportions.
Create the starting asset, then check scale, orientation, missing surfaces, silhouette quality, normals, and whether the mesh suits the intended shot.
Bring the asset into Blender, apply the needed cleanup, replace weak geometry, add materials, and prepare modifiers, rigging, or export settings.
A generated asset is most valuable when it shortens the path to a visible decision. These practical checkpoints show what a Blender handoff should make easier.
Generated geometry can accelerate production, but the artist remains responsible for the final asset, its provenance, and its suitability for the project.
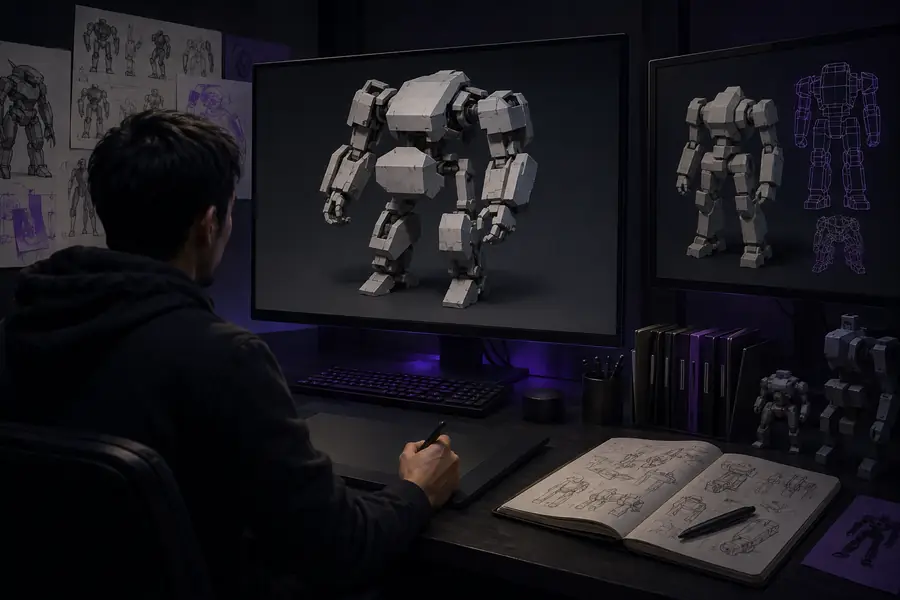
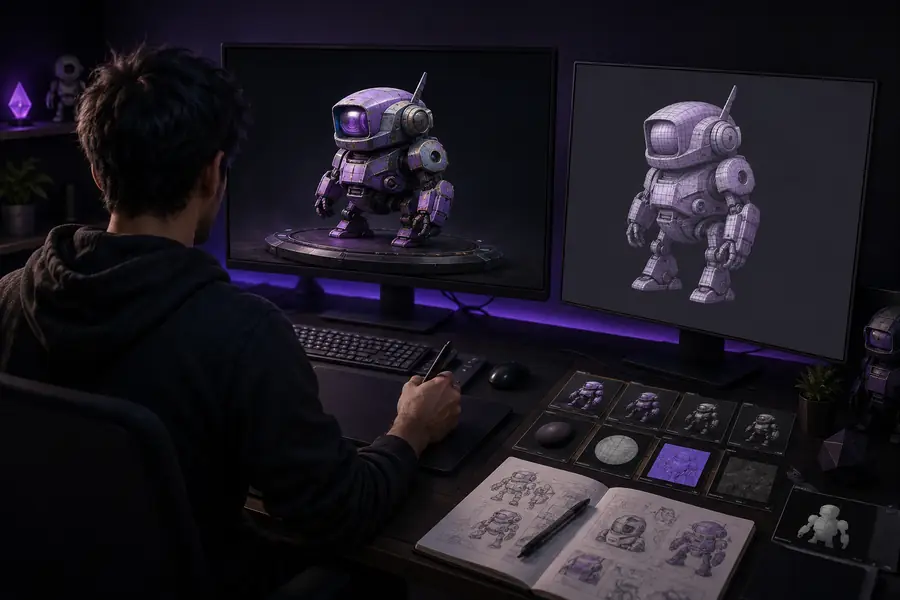
Review the source rights for every reference image, confirm that generated content fits your project terms, remove unwanted details, and inspect geometry before commercial, client, or public release. Keep a record of major edits when provenance matters.
Use the estimate as a planning aid for a batch of secondary assets. Actual time depends on reference quality, asset complexity, and the amount of Blender cleanup required.