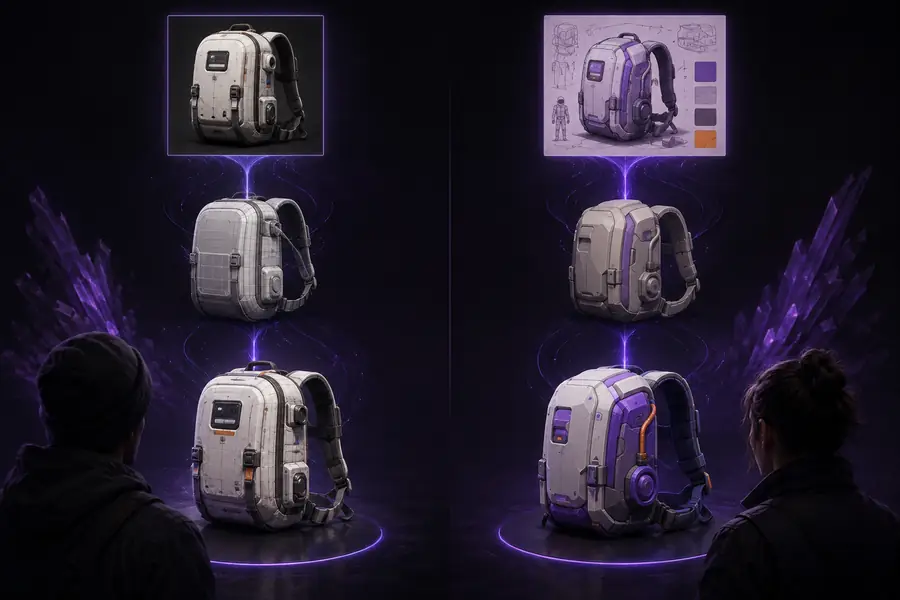
Tool comparison

hyper3d vs meshy: Choose the Better 3D Generation Workflow

This hyper3d vs meshy comparison focuses on the decisions that matter after the first impressive render: control, consistency, export readiness, and how easily each tool fits your pipeline.

6
workflow dimensions compared
2
3D generation approaches
1
clear migration path

Quick verdict

Verdict first

Both platforms can turn prompts or reference images into usable 3D starting points. The better choice depends on whether you value a fast guided workflow or more control over the resulting asset.

Recommended

Hyper3D

Best for creators who want stronger control over reference-driven asset creation and a flexible path into production tools.

Pros

  • Strong fit for image-to-3D exploration and concept iteration
  • Useful when shape, silhouette, and visual identity matter more than instant defaults
  • A practical choice for Blender-oriented workflows and custom refinement
  • Supports a direct path from idea to editable 3D starting point

Cons

  • Generated geometry may still need cleanup before animation or close-up rendering
  • Results can vary with image quality, camera angle, and subject complexity
  • You may need a separate tool for detailed retopology, rigging, or final materials
Meshy

Best for users who prioritize a polished, approachable interface and quick experimentation across common 3D generation tasks.

Pros

  • Simple entry point for first-time AI 3D users
  • Fast way to explore text-to-3D and image-to-3D concepts
  • Helpful for broad ideation when exact topology is not the first concern
  • Can shorten the distance between a rough idea and a previewable model

Cons

  • Default outputs may require substantial refinement for a specific art direction
  • Less suitable when you need repeatable control over every generation variable
  • A quick preview is not automatically a production-ready asset

Side-by-side detail

Dimension by dimension

The table below separates headline appeal from the day-to-day trade-offs that shape a real 3D production workflow.

Hyper3D Meshy
1

Best starting input

Hyper3D

Reference images and visual direction; useful when the target shape is easier to show than describe.

Meshy

Text prompts or reference images; convenient when you want to explore several broad interpretations.

2

Control over visual identity

Hyper3D

Better suited to preserving a distinctive silhouette, proportion, or design reference through iteration.

Meshy

Good for rapid variation, though results can drift from a tightly specified visual target.

3

Learning curve

Hyper3D

Moderate; the strongest results come from deliberate inputs and a review-and-refine loop.

Meshy

Low; the interface is approachable for quick first experiments.

4

Speed to first concept

Hyper3D

Fast once the input is prepared, especially for reference-led exploration.

Meshy

Very fast for broad prompt-based ideation and casual testing.

5

Production readiness

Hyper3D

A stronger starting point for a custom asset, but cleanup, topology checks, and material work remain necessary.

Meshy

Useful as a concept or draft model; production use also depends on cleanup and project requirements.

6

Blender handoff

Hyper3D

Fits a workflow where the generated model is opened, inspected, edited, and developed further in Blender.

Meshy

Can be used as a starting point, but the handoff experience depends on the chosen export and the asset's condition.

7

Repeatability

Hyper3D

More dependable when you keep references, prompts, and review criteria consistent across iterations.

Meshy

Convenient for variation, but exact reproduction can still require careful prompt and input management.

8

Best use of output

Hyper3D

Custom props, characters, product concepts, scene assets, and visual prototypes that need a clear art direction.

Meshy

Early ideation, quick previews, educational experiments, and broad asset discovery.

Choose by workflow

Who each tool suits

There is no universal winner. Match the tool to the point in your process where uncertainty is most expensive.

1

Choose Hyper3D when the reference matters

Use it when you already have a concept image, product reference, sketch, or defined silhouette and want the model to stay close to that direction.

Reference-led work benefits from a workflow built around visual intent rather than accepting the first generic interpretation.

2

Choose Meshy when speed and accessibility matter most

Use it when you want to test ideas quickly, compare rough concepts, or introduce a beginner to AI-assisted 3D creation.

A lower-friction first pass is valuable when the model is disposable, exploratory, or mainly being used to communicate an idea.

3

Use both during different stages

Start with the platform that produces the most useful concept, then move the chosen asset into your normal modeling and finishing tools.

Separating exploration from production lets you judge the asset by its role instead of expecting one generator to solve modeling, topology, materials, and animation at once.

Next steps

A sensible migration path

Switching tools does not require abandoning your existing process. Treat the first few generations as a controlled comparison, not a wholesale replacement.

Choose one subject, one reference, and one success criterion before comparing outputs.
01 Prepare
Create several variations with comparable inputs instead of judging a single lucky result.
02 Generate
Check silhouette, scale, disconnected parts, surface artifacts, and editability before export.
03 Inspect
Keep the strongest base, then finish topology, materials, rigging, lighting, or optimization in your regular tools.
04 Refine

Honest caveats

Comparison FAQ

A comparison is useful only when it makes the limits visible. Neither generator replaces the full modeling and asset-production stack.

Neither tool guarantees production-ready topology

A visually convincing mesh can still contain dense areas, uneven edge flow, hidden artifacts, or disconnected geometry. That matters for deformation, editing, and optimization.

WorkaroundPlan a cleanup pass in Blender or another modeling package before animation, baking, or real-time deployment.

Neither tool can infer every hidden surface perfectly

A single image does not reveal unseen sides, internal structure, exact dimensions, or material behavior. The model is an informed reconstruction, not a measured scan.

WorkaroundSupply multiple views when possible, inspect the unseen areas carefully, and treat important dimensions as manual design decisions.

Neither platform replaces art direction

Prompt wording and reference quality influence the result, but the generator cannot decide whether an asset belongs in your scene, matches your style, or serves the gameplay and camera.

WorkaroundDefine the asset's role, silhouette, scale, and visual constraints before generating, then select outputs against that brief.

Neither workflow removes final optimization work

Games, AR scenes, animation, and interactive applications still need sensible polygon counts, UVs, materials, naming, collision, and file organization.

WorkaroundUse the generated model as a fast base, then apply the same technical acceptance checklist you use for any external asset.

Inspect the difference

A visual checkpoint

Reference direction

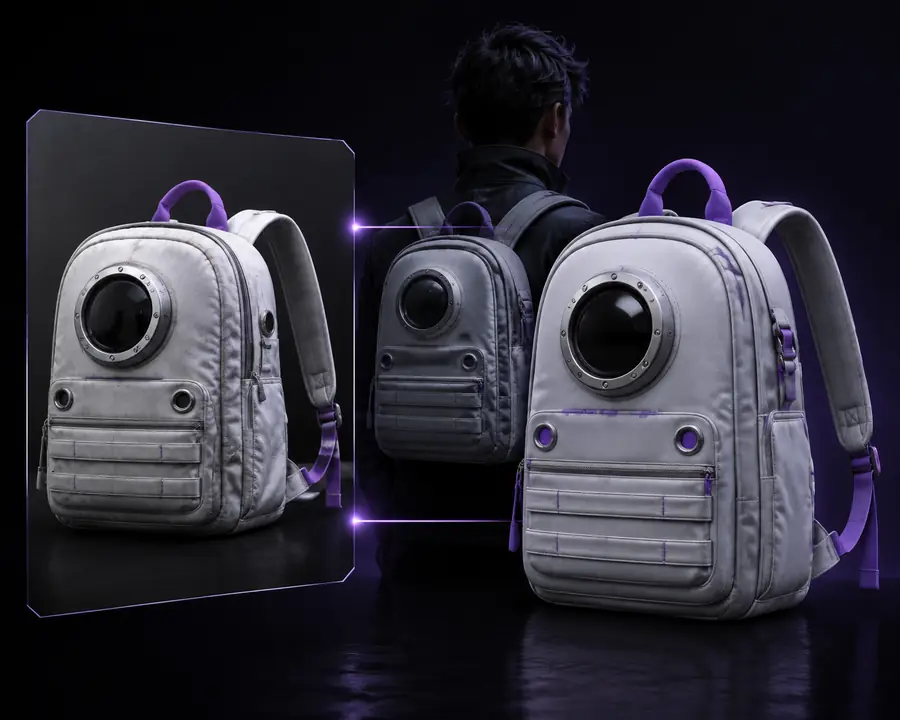
Reference and generated 3D asset comparison visual
Refined 3D asset comparison visual
Usable 3D starting point

The useful comparison is not only which image looks better at first glance. Inspect whether the generated result preserves the intended silhouette and gives you a workable base for the next stage.